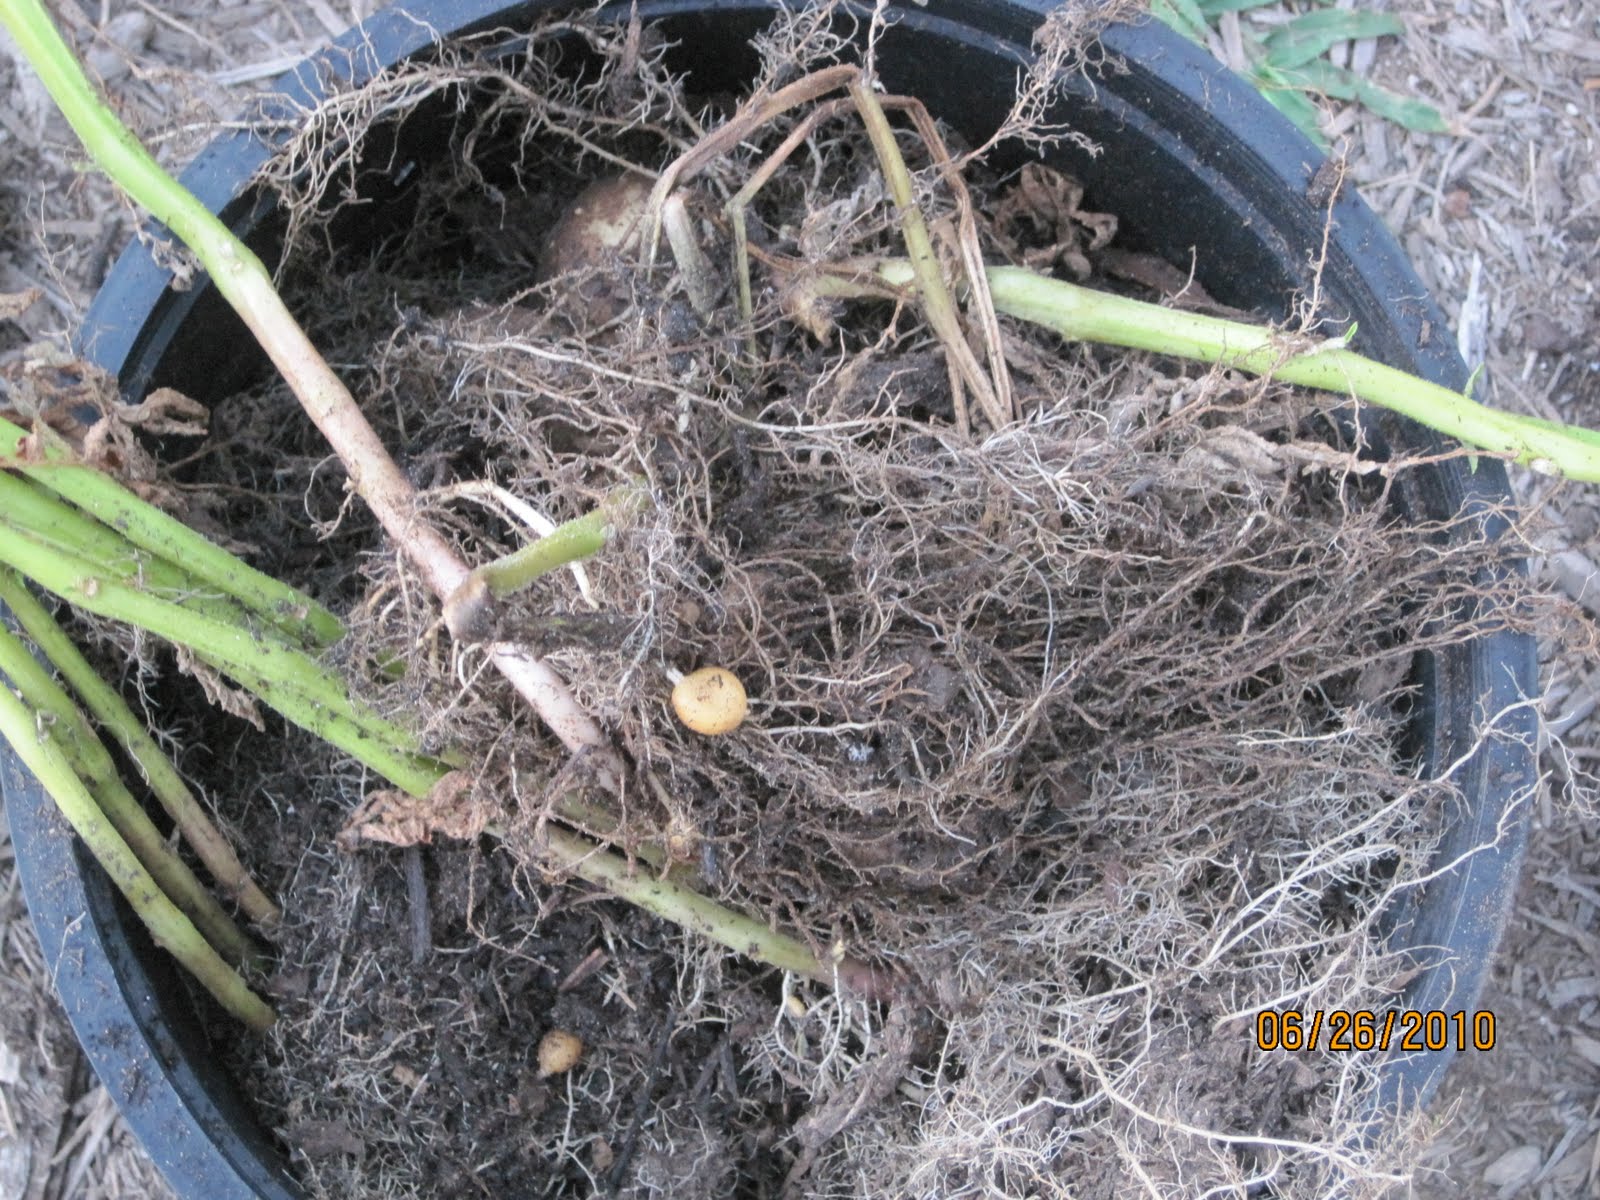
Here is an update on the last of the potatoes that I had growing in containers. They did not produce much at all. From the 2 containers, see the amount that came out (size of golf balls). I also did not think they would be good to eat as the skin did not look great. These were white potatoes and they had me a little worried, so off to the compost they went. These potatoes came from our feed and supply store. I am sure they would have produce better with being in the ground and the watering was consistent (I watered them regularly but they would dry out before I got home (could be because the containers were small and black and the sun just sucked the life from them). I now only have a few plants in a raised bed and just today while out watering I notice the red potatoes were trying to peek out, so I covered them with more soil, I guess with the hot temperatures the soil is shrinking so I will need to pick up more soil to make sure they are covered and not exposed to the sun. I think that I will stick to growing red potatoes, we like those in most of our meals anyway (when we do have potatoes) and the white potatoes are usually used for just baked potatoes or fresh french fries. I am glad that I tried this, because now I know what may or may not work.
Have you tried to grow potatoes or do you leave your garden space to other things and buy your potatoes from the grocery store?
I am happy to say that I have finally gotten some tomatoes from my garden. Last year when I first started gardening, I planted several seeds of the Yellow Pear tomato variety. It was an indeterminate and I received lots of plants with tons of greenery, but not very many flowers. I feed the plants regularly (but that was the problem, I feed them before they started to fruit and I think that is where I failed). I also had several other tomato plants in makeshift upside down containers (flop) and I also had one in a "TOPSY TURVY" (flop). Maybe it was the location of the plant, not enough sun, maybe too much watering, maybe anything. I am happy to say that I have several tomato plants growing and about 5 of them are in buckets and 4-5 are in my raised bed, with 2 additional plants that I received at a swap, that is finally starting to take off. Everyone of the ones in buckets have started to set fruit and the tomatoes below are from those plants "Black Prince Russian Heirloom (left) and Early Girl (right)". All the ones in he raised beds have set fruit and I am hopeful that the 2 that I got a swap will do the same (they will be my late in the season tomatoes, when the others poop out). People tell me all the time that tomatoes are one of the easy plants to grow (along with peppers) and I should have no problem. I think they are right, with PRACTICE. These tomatoes were real good. They are small, but that's great since only my husband and I like tomatoes (daughter does not like them unless it is ketchup, spaghetti sauce, or pizza sauce). We are able to pick the fruit and they are great personal sizes.
Have you tried the upside down version of planting and what was your success, did you do anything different with these plants than you did in your in ground/raised bed/containers? Also, have you tried growing tomatoes in buckets/containers, what was your results (I know some varieties are more conducive to container gardening)?
Here are photos of last year's garden and the lonely tomato that I got, it was good, but one, come on.
Well while watering the garden today, I came across this little baby melon starting to produce. I have been watching the plant carefully (at least I thought I was) because I wanted to know how it is produced an actually see it form. I missed this one (so far it is the only one growing, but the plant has lots of flowers). This should be a sugar bush variety (or it is a black diamond), the tags have disappeared (maybe they are down in the soil. I picked up the seedlings from Red Barn Nursery (before I found out that it is real easy to grow melons from seeds once it warms up). Even if I get one watermelon, I will be happy. I realized that I previously had the watermelons in part shade (my tree started leafing out and it started shading the plants on that side. Once I moved them into total sun, it started producing lots of flowers. I moved the vines to now grow up the fence with stretchy garden tape. I don't have a lot of space in the garden and plus I don't want to have to hop over the melons once they start to produce, plus I am chicken, I like to see if there is anything on the grown that I may step on.
Here is the plant the day I moved it out of partial shade (looking sad, but still growing).
Have you tried growing watermelon before, were you successful and what variety did you find worked for you?
I came across this post...Pattern Making Measurement Chart...this weekend while reading various blogs. I think this is pretty cool. I have seen similar charts like this, but I think the picture is truly darling and the various areas of measurements are more than I have found on other charts. I am getting into making garments for myself and this chart really is helping me understand where to do the measurements (even if my body parts per se are not in the same spot as the chart, still trying to loose that baby fat, did I mention my daughter turned 15 last month, HA HA). When you are a beginner and trying to read patterns a chart with your measurements is very helpful. I learned the hard way (even though I had read about it before) that clothes bought in the store are not the same size as clothes you make from pattern. Take a look at this you never know, it may be something you like.
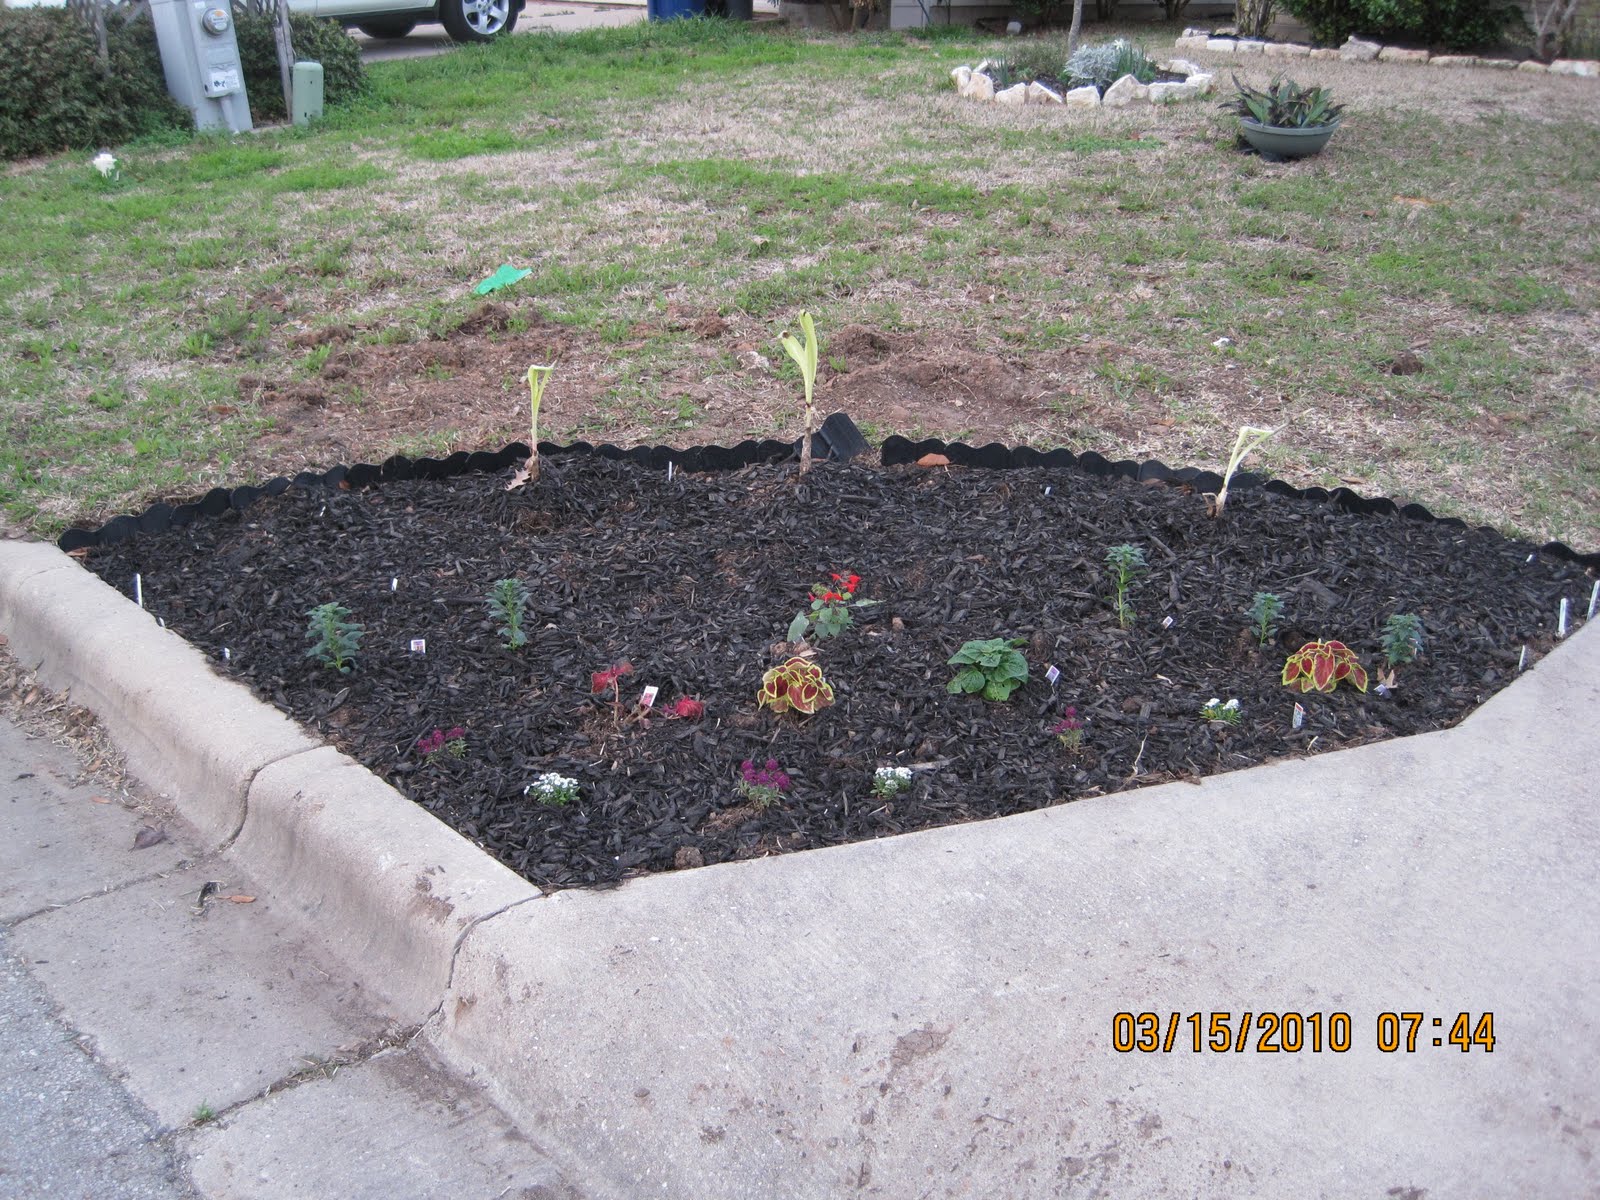
I planted out 2 semi circle beds on either side of the entryway of my driveway during Spring Break. I mainly planted bulbs, with a few annuals & perennials for instant color.
Here are the beds about a month later. Some of the bulbs are emerging. I have added a few more annuals that I have found on sale at various nurseries.
Here is the bed almost 2 months out. Amazing at how fast the bulbs are growing and filling out (of course more annual plants and a few perennials have since been added for color).
Last week I noticed my Gladiolus are starting to put on bloom stalks
These started to bloom last week and are are filling out more and more each day. The yellow color is so vibrant and attracts bees and butterflies.
I came home today to discover these beginning to bloom red.
Can't wait for the flower show to really start blooming.
Remember, I am a beginner at all of this and decided to experiment....This weekend I tried my hand at pickling cucumbers. I wanted to do this last year, but never got any cucumbers from the various plants (well lets just say my planting style at that time was the problem, but it was my first time).
So I decided to just buy some cucumbers from the grocery store (I priced the ones at the farmers market and they were wayyyyy to expensive). I purchased the regular cucumbers, although the English cucumbers would have been better (the ones I got the skin is quite thick, so not sure if that will have a bearing on the flavor of the pickle). I came home Saturday afternoon and checked on the garden and this is what I found. The one cucumber that I had been watching (straight eight) was ready (from what I could tell).
I found this video on YouTube to make simple pickles, however I omitted the dill, because I don't like tart pickles (will see in about 6 weeks if that was not a good idea).
Here was my process:
Added 4 store bought cucumbers with my 1 from the garden
White vinegar, pickling salt, peppercorns, clove garlic, and onions from my garden (ones I pulled early as they were bolting)
1 extra large pot with lid to put the pickled jars in to seal them, 1 medium pot for the brine, 1 small pot to sterilize the ring, and 1 extra small pot for the lids (I know the lids and rings could go in the same pot, but the extra water in these pots were needed after the pickles were put in the extra large pot and more water was needed to cover them).
These were the extra jars I had left over (small ones from jelly making and the 3 tall ones, were from a preservation class I took and got these as part of the class). Have to buy another case of the jars before the next canning time period.
Cut the cucumbers into wedges, any slices that were too tall for my jar, I cut off the ends and used those in the little jars. If they are good, this is what I would call single serving size jar of pickles.
I skinned the onions and garlic.
After following the canning instructions from the video, the jars were ready to be sealed.
Here is an up close up of what the jars looked like inside
If you have an easy pickle recipe please share. My next attempt will be the cold pack method to make kosher pickles (my favorite).
I started this one sweet potato spud back in late March. I was cooking dinner and realized this spud was still in the brown paper bag in the bottom of the pantry. I noticed it had already started to sprout and I figured I needed to get it in some water so that more sprouts would be produced.
In about a month, there were a lot of slips and they were getting taller and taller every day. I figured that within a few weeks they could go in the ground.
Finally it was planting day. The story on the blue tote....I was headed to work one morning and while still in the subdivision, I noticed this tote sitting next to a neighbors trash can (trash pickup was that day). I pulled over and grabbed it. The tote had cracks in the bottom and the sides were slightly dented. However, I knew exactly what job this tote would serve. My husband on the other hand was looking at me like a crazy woman....picking up trash and putting it in our car, within our neighborhood. I had to laugh. On planting day I gave him the task of cutting the bottom of the tote out so that I could sit it on the soil to plant my potatoes. When it is time to harvest, I can just lift the tote up to reveal all the potatoes (well lets at least hope there is a good amount).
Newly planted sweet potato slips. I was able to get 6 slips (4 were tall and 2 were small).
About 2 weeks later, major growth has occurred.
An additional week later more growth. So far this bucket is off to a good start (cross your fingers, eyes, toes).