Monday, January 31, 2011
Layer Cake Quilt Along, I WON
Look what I won, a Perkins Dry Goods Perfect Piecing Seam Guide. I won this prize for participating in the Layer Cake Quilt Along and the actual block that I won the prize for was Block 5 (I am known as knitdemon on flickr). I received my prize in the mail this Saturday and I went around to my sewing machines and checked my 1/4 seam allowance and this liitle doo hickey really works. Thanks Celine Perkins and Konda Luckau.
Upcoming Weather....Possilbe Snow (yeah right)
Although we have had some cold days this month (where as when I would go out to take off the covers the fabric was hard and ice crystals had formed), but it looks like they are predicting snow (not going to bet the house on it), but that means that the temps will dip close to freezing where I am. I have had 2 days straight so far this past week where I did not have to cover the plants (however, no rain). I still cover mine if the temps are below 45 degrees at night (just to be on the safe side) some say that is not necessary until you are in the very low 40s and 30s. I don't mind doing it. It might just be me, but the weather has been real freaky in 2010 and now 2011 (or it could be that I am paying more attention to it with gardening).


Add Seam Allowance Without A Ruler
Saw this post from Debbie at squigglytwigs and thought this was a neat tip, especially if you are working with curves (maybe not so much in tight corners/curves). I have not tried it out, but it seems very doable. Enjoy.
Spring Tulip Table Runner
I will be attempting to complete a table runner through the quiltingforall-Yahoo Group. It is called a Spring Tulip Table Runner, which is due by February 28th for voting. We are not sending it in for voting, but taking photos and posting it to the group and those who wish to will vote. I decided to change mine from all the spring colors to more earth tones colors as this will fit more into the decor of my dinning room, which has glass, black wrought iron in the furniture, deep rich browns, reds, and mahogany in my pictures on the wall.
This runner has a little bit of applique and it is the perfect amount since I am just now learning applique in another group that I am in. 2011 was the year set up to learn applique, embroidery, and learn more in quilting my quilts.
Here is a photo of my fabric choices. This week I will spend time ironing and cutting out the fabric. My goal is to have it posted by the third weekend in February.

Birdie Stitches Embroidery BOM #1
Here is my completed first block on 1/23/11 (previously discussed this block of the month here). I actually completed it before the end of the month. I saw so many wonderful blocks where the person filled in certain aspects on the project, So I decided to give it a try and I filled in the ear muffs on the bird and the scarf on the snowman. I have to really work at this as the stitches started to pucker (was not sure if it was me and my tight stitching or working on the hoop, most like me). I will also try a different pattern transfer method. After a few times of working with the block the white chalk started to disappear, which made it hard to find where to stitch.

Can't wait for block 2.
Can't wait for block 2.
Sunday, January 30, 2011
Layer Cake Quilt Along (Pointing The Way)
Here is block 6 by Toby Lischko through the Layer Cake Quilt Along. This pattern was easy and came together way faster than I thought.


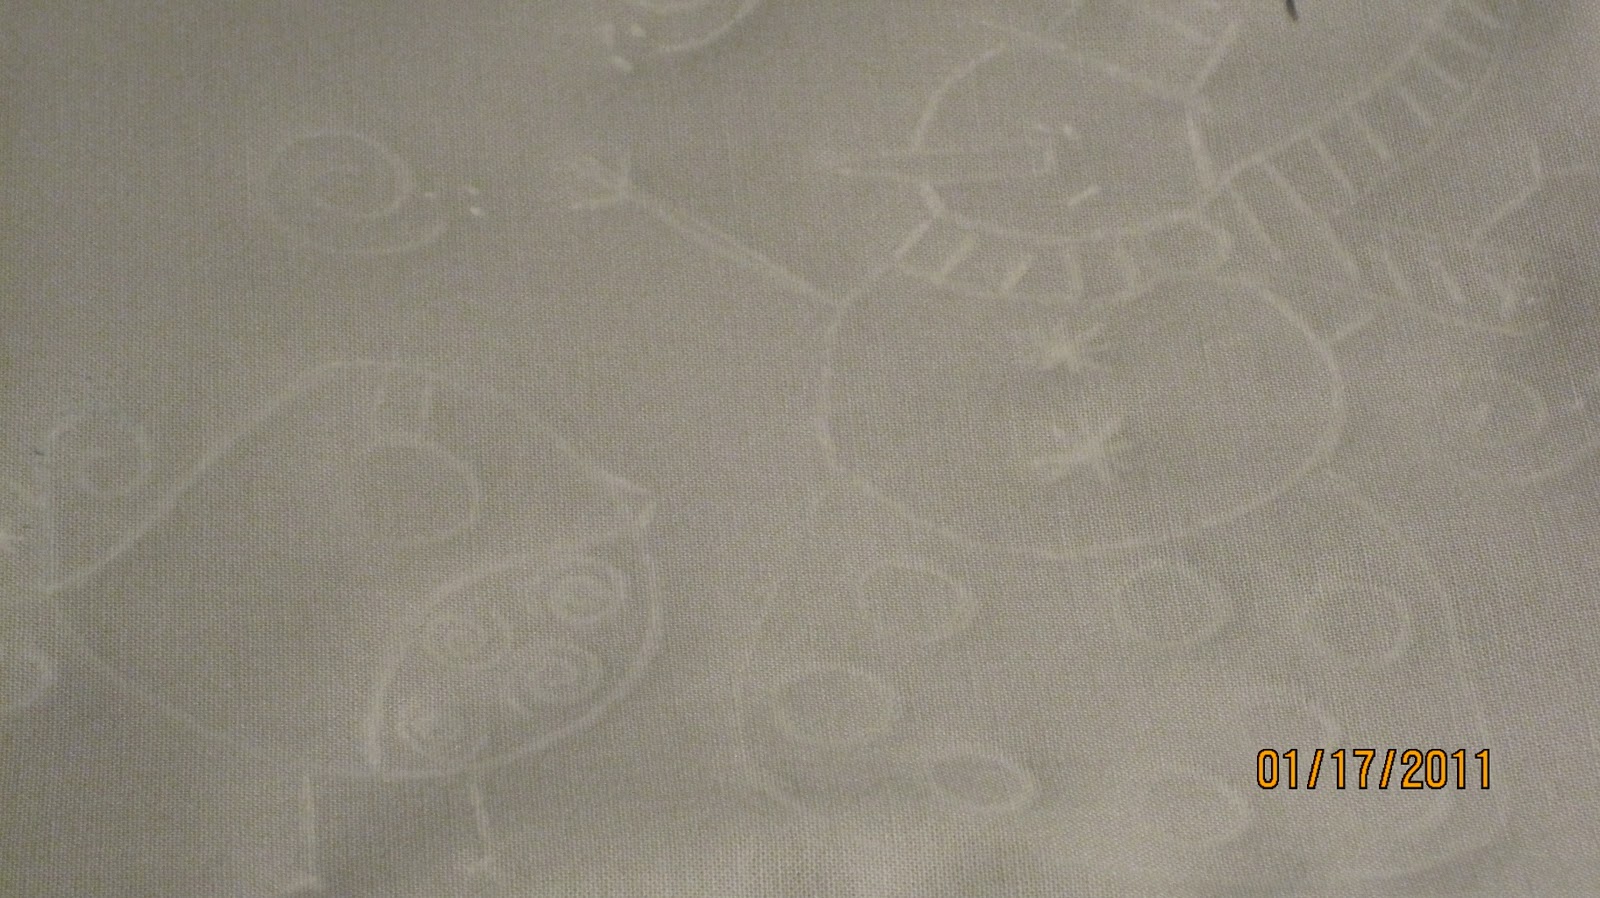
Monday, January 17, 2011
Layer Cake Quilt Along (Rainbow Boxes)
Here is block 5 by Cara Wilson through the Layer Cake Quilt Along. This pattern was very interesting. I did not think the corner squares would come out right, because they are supposed to change directions when you cut them apart and behold they did. Amazing. I think I will be trying this on larger measurements.


Birdie Stitches Embroidery BOM
Here is the fabric that I will be using for the Little Miss Shabby Bridie Stitches BOM. If you want to get into embroidery or if you already do, you should check this project out. I am looking forward to making the quilt. I found this Jelly Roll and gray fabric at Joann's on sale. The jelly roll is by Fabric Central (that I have had about a year now) and the gray fabric (was purchased with a coupon earlier this week) is standard solid color quilters fabric. I discovered that I have a lot of DMC floss so I can get underway with the project and I will decide later what the last border will be as well as the binding and backing.


I decided to try a white chalk pencil to transfer the pattern. I will see if it is difficult to stitch with the light color on the fabric.


I finished putting together the blocks so that I can embroider on them.


I decided to try a white chalk pencil to transfer the pattern. I will see if it is difficult to stitch with the light color on the fabric.


Layer Cake Quilt Along (Starry Starry Snowball)
Here is block 4 by Sherri McConnell through the Layer Cake Quilt Along. This pattern was easy and came together fast. I like her technique for sewing on the corner triangles.


Saturday, January 15, 2011
Wednesday, January 12, 2011
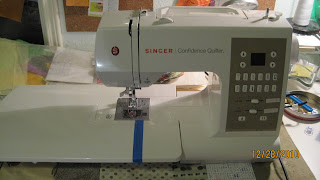
Singer Confidence Quilter 7469Q
I purchased this sewing machine back in October, 2010 and I recently did a quick review on the Singer site. Here is what I wrote about the sewing machine:
The only other thing that I wish this machine had was a speed regulator. Since I am learning to free motion quilt, I wish I could set it to a medium speed to practice. This will be something that I will want if I get another machine.


Upscale Beginner MachineAlso, need to note that this is not a quiet machine (sometimes I have to turn up the TV or music that I am listening to because of the machine). I am not sure if the noise is normal or maybe the more expensive machines are a lot quieter. However, I am used to it now.
Pros: Good Value, Great Features, Easy to Use
Cons: manual missing information
I have had the machine for 3 months now. I have tried out about 90% of all the features. I like the machine so far. It is not as quiet as I thought that it would be, but I think that it is a good machine overall. PROS-I love all the extra feet and the extension bed, that gave it the extra scoring points with me. I really like the digital selection buttons. I also like the button for needle up/down and the twin needle function. This is truly a plus. CONS-What really hit a sour note with me was that the manual is for the 7469 and does not touch on the 7469Q features. So you have to figure it out on your own. I think with a better made manual the sewing machine would be that much better. Also, the drop/raise feed dog is located at the back of the machine. Not sure why this mechanism could not have been put on the front or even the right side of the machine.
The only other thing that I wish this machine had was a speed regulator. Since I am learning to free motion quilt, I wish I could set it to a medium speed to practice. This will be something that I will want if I get another machine.

 |
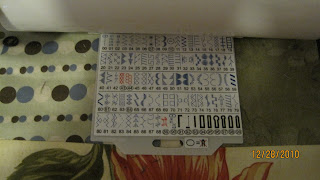
| Here is a sampling of some of the stitches on the sewing machine. |


 |
| I had to add a name next to the length and stitch selector as I always got them confused. |


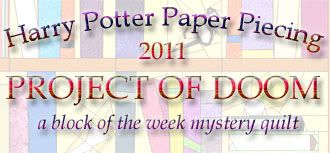
Harry Potter Project of Doom
Are you a Harry Potter fan, do you know someone that is (I'm sure you do)? Well Jennifer (AKA ofenjen) is doing a block of the week mystery quilt with paper piecing geared toward Harry Potter. The Harry Potter Project of Doom started today and you have time to join in. Jennifer is a major Harry Potter fan and through her I have learned more and more why my daughter loves Harry Potter. My daughter hates that the books are over, however she has discovered Twilight, but as she says "there is nothing like Harry Potter".
Also, take a moment to check Jennifer out at her blog as well as on YouTube (she is the paper piecing queen). She does so much for the Linus Connection and she teaches classes at Honey Bee Quilt Store. When you check out her videos on YouTube you will be amazed at all she creates (she amazes me at the things she comes up with). Not only are your quilts, crotchet projects, and revamping clothing awesome, but the costumes that she creates for her kids. WOW, just WOW.
Also, she is a person you can talk to, just a regular person, I like that about her.
Tuesday, January 11, 2011
Take Time To....Embroidery BOM
I am currently working on a BOM from Caroline of The Contented Quilter. She is doing a serious of embroidery blocks dedicated to the concept of taking time to do....various things. Here is my first attempt at it. I plan to frame them individual and place them on a section of the wall in my craft room (always need a reminder to enjoy life). I am still new to the embroidery stitches (not as similar to cross stitch as I thought)and I am sure that this could look better and I am sure that I will learn during this project. On to block 2.


Happy Scrappers (Month 1)
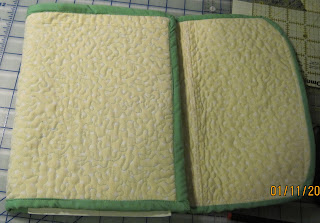
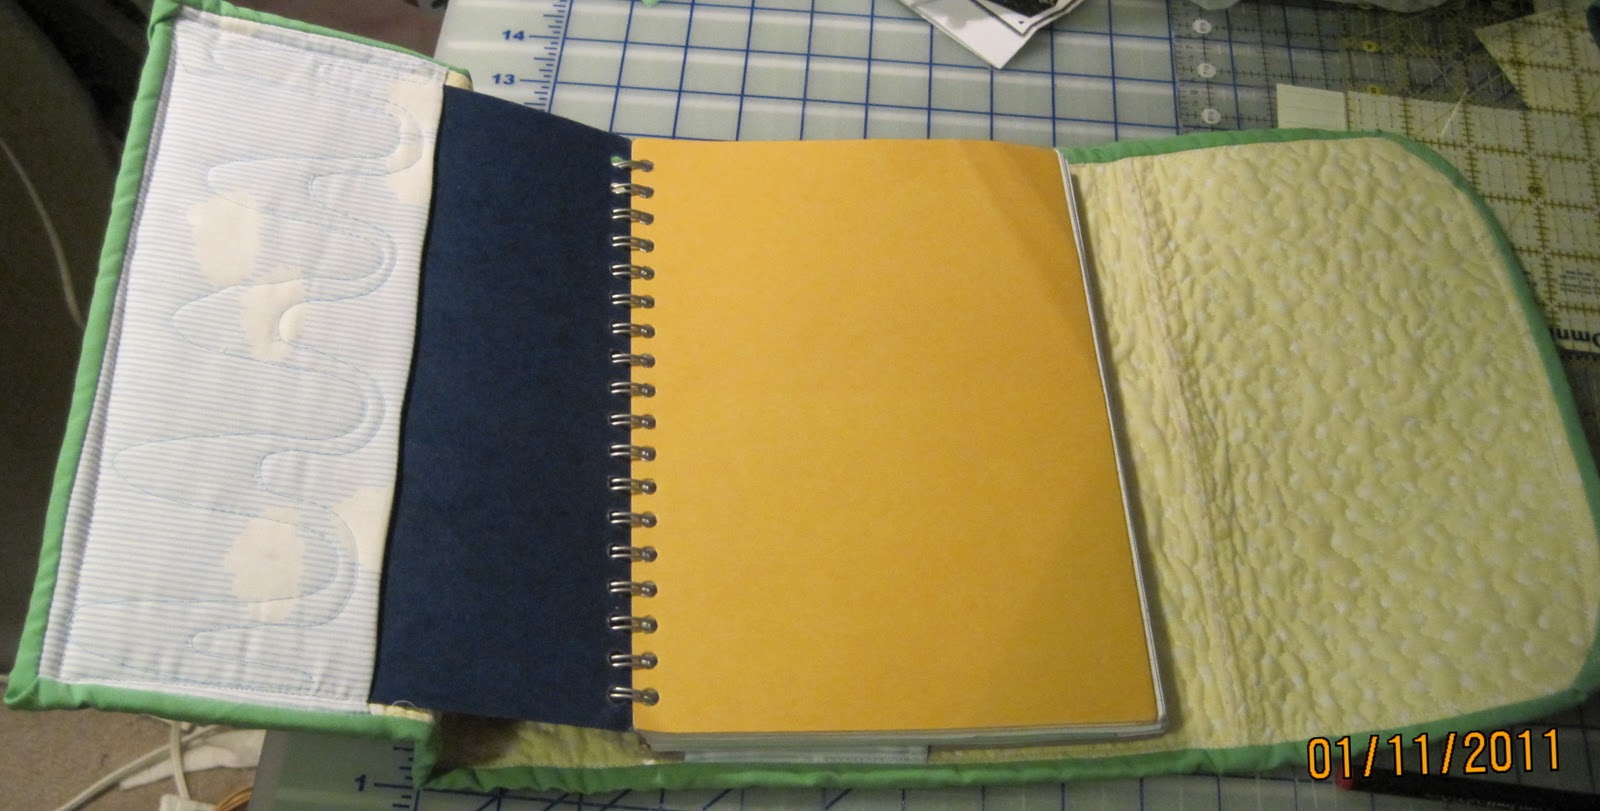
I joined a new group at a local quilt store Ready To Sew Bernina-Cedar Park and the group has a bunch of lively ladies in there and I think it will be a great group. Our leader is making us work the next 6 months on a nice size quilt and she is also giving us mini projects to complete each month as well. We are going to receive points for projects that we complete (total completion=quilting and binding, OH NO). The major prize for the most points is that your membership is paid for the next 6 month session. I like that idea. I have completed (well still have to add a button and hook) the first project that will be due next month. It is a planner cover. The cover was supposed to be a test run because I wanted to make one bigger than the pattern called for, so I used whatever I had in my stash to make it. I kind of like it (but my original fabric is still calling me, ha ha).


We are making the quilt on the front of the Sew Scrappy Magazine, Volume One, 2010 Issue, Quilts for Fabric Lovers, Better Homes and Gardens Creative Collection. It is called Tumblers Aplenty. I am going through my stash now to see what I can use and I am thinking that I will be making my blocks at 4.5 instead of the 3.5 size the pattern calls for (just to make a crib/wall size you need 378 tumblers, to make a full/queen you need 1,110 tumblers (WOW).


In this scrappers group you learn all kinds of tips and tricks for making your quilts. One lady bought dollhouse wood and made her template, others used various other dresden templates as well as template plastic, etc.

 |
| Pictures above are prior to the green binding being added. |


We are making the quilt on the front of the Sew Scrappy Magazine, Volume One, 2010 Issue, Quilts for Fabric Lovers, Better Homes and Gardens Creative Collection. It is called Tumblers Aplenty. I am going through my stash now to see what I can use and I am thinking that I will be making my blocks at 4.5 instead of the 3.5 size the pattern calls for (just to make a crib/wall size you need 378 tumblers, to make a full/queen you need 1,110 tumblers (WOW).


Also, instead of making a plastic template, I will be using one of my Christmas presents that my hubby got for me. It is the Easy Dresden template.

In this scrappers group you learn all kinds of tips and tricks for making your quilts. One lady bought dollhouse wood and made her template, others used various other dresden templates as well as template plastic, etc.
Daughter's First Quilt
I made this quilt for my daughter this Christmas. This is technically the first quilt that I have made for a family member. I made it in her favorite color, purple (also found out that orange has been added to the list, so it worked out perfectly), but I had to throw in some other colors to jazz it up a bit and make it more of a teenager quilt. The quilt is 57 x 68, which is about the size of an Afghan. The pattern is called Log Cabin Polka (a wonky type log cabin) and it is from Creative Quilt Collection, Volume One, From That Patchwork Place. I picked this book up last year at Half Price Book Store and this book has quite a few quilts that I want to make. In the pattern it had 4 quadrants of a log cabin block sewed together to make 12 individual 18 1/2 blocks (it called for a partial seam piece technique), but I did not want it to be tooo busy for her. I then took left over fabric and made two inner offset boarders. My husband helped me pick out the backing (deep burgundy color for the 2 outside strips and a pretty purple for the large inside border) and binding (a bright red). At first I did not think the binding would go, but it did and it turned out great.


My only dilemma was the quilting, I dread this process as I am totally not comfortable with it. So I tried several different techniques as I was doing it, (1) chalk and a stencil, (2) printing the pattern on thin paper and sewing through it, (3) free hand drawing (not very good at all, my hearts look like a heart about to explode), (4) then finally free motion quilting. From a distance it all looks good, but up close you see the flaws, my daughter did not care she loved it (that is all that mattered).


This label was done by ironing my fabric to freezer paper (the kind you find in the foil and zip lock section of the grocery store) and typing up what I wanted in Microsoft Word and running it through the printer. The amazing thing about this process is you can write anything you want and as long as your printer recognizes it as paper it will go through the printer. See a video about it from YouTube here.

The strange thing is that my craft room is open to anyone and no matter what I am doing (even in secret) my family walks in. So the whole time I have been working on the quilt, I kept trying to hide it from her. At first I don't think she noticed it as I am always sewing for something or some group. When it got to the part of putting on the last borders, she started to notice a big vibrant purple quilt. When my husband and I (had to coax him to help me with it) were putting the quilt together for the basting and quilting process, we had to use the dinning room table due to the size. My daughter passed by and said what are y'all doing and my husband chimed in and said "oh this is a quilt your mom is doing for charity and the lady requested nice bright colors as she is loosing her eye sight". I almost said "WHAT", but I caught on (usually I am real slow in the department, ha ha). She believed him and said "WOW what pretty colors, she is going to like it". That made me feel good as I had been fretting over the process the entire time. During the days of the quilting process she saw it again and said "WOW mom you did that on the quilt, but how, I really like that, if you can one day, will you make me one". I said "well I don't know right now as this is a big quilt and it takes a lot of time to put it together, we will see". I almost burst into tears (emotional moment there, ha ha).
The only box we could find, as I did not plan the wrapping part, was a Dell box. I told my husband "if she sees that Dell box she is going to freak and think she finally got a laptop and she won't have the same excitement when she opens it and sees a quilt". He said "don't sweat it she will be okay". Well on Christmas morning, this quilt was toward the middle of the presents she was opening and I was right, as soon as that Dell logo first appeared under the wrapping paper the girl almost fainted, I almost burst out laughing, it looked like she just meet a famous superstar or something. I said "dont' judge a book by its cover as you never know what is inside". Well, my husband and his love of wrapping things with lots of tape, made it difficult for her to open, so they had to get the scissors. However, when she opened it she saw the label on the quilt she was jumping for joy, "you made it for me...WOW cool...thanks mom" and then she posed for several pictures, since we opened gifts before getting dressed those pictures are freighting with our hair and sleeping clothes looking crazy (so they will be private viewing only, ha ha).
To my joy she loved it and that was all that mattered. Thanks sweetie for allowing mom this moment in time.


She was all tooo happy to pose outside with the quilt (don't mind the dead grass, itis really not dead, just REALLY sleep, haha).


My only dilemma was the quilting, I dread this process as I am totally not comfortable with it. So I tried several different techniques as I was doing it, (1) chalk and a stencil, (2) printing the pattern on thin paper and sewing through it, (3) free hand drawing (not very good at all, my hearts look like a heart about to explode), (4) then finally free motion quilting. From a distance it all looks good, but up close you see the flaws, my daughter did not care she loved it (that is all that mattered).
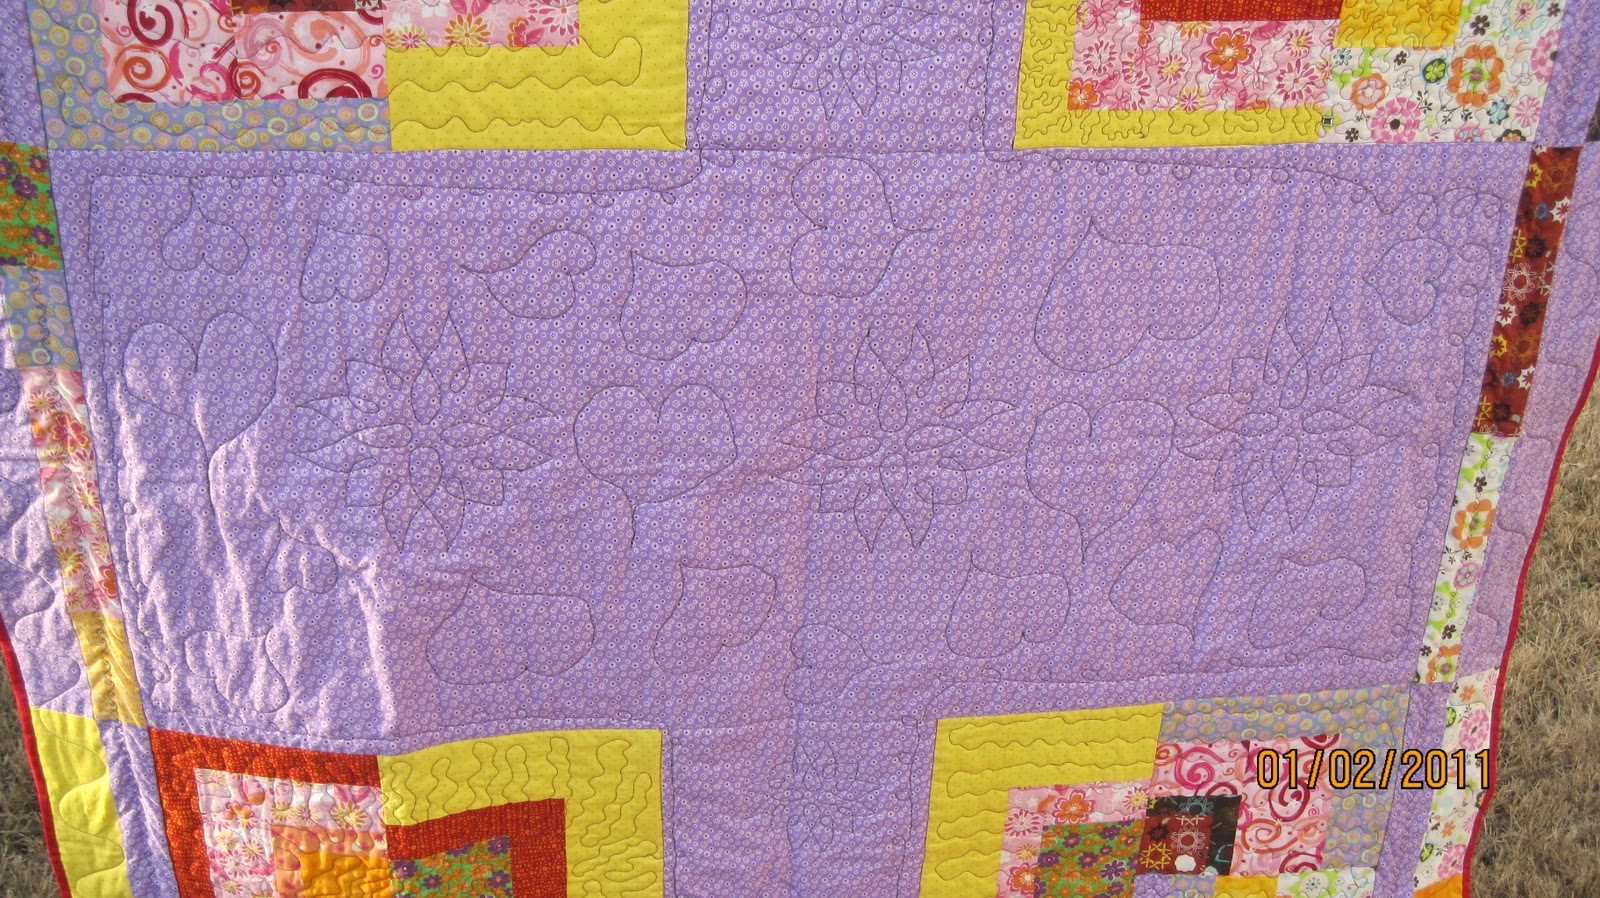

I really like the inner panel on the backing the pattern really jells together with the burgundy side panels.


The strange thing is that my craft room is open to anyone and no matter what I am doing (even in secret) my family walks in. So the whole time I have been working on the quilt, I kept trying to hide it from her. At first I don't think she noticed it as I am always sewing for something or some group. When it got to the part of putting on the last borders, she started to notice a big vibrant purple quilt. When my husband and I (had to coax him to help me with it) were putting the quilt together for the basting and quilting process, we had to use the dinning room table due to the size. My daughter passed by and said what are y'all doing and my husband chimed in and said "oh this is a quilt your mom is doing for charity and the lady requested nice bright colors as she is loosing her eye sight". I almost said "WHAT", but I caught on (usually I am real slow in the department, ha ha). She believed him and said "WOW what pretty colors, she is going to like it". That made me feel good as I had been fretting over the process the entire time. During the days of the quilting process she saw it again and said "WOW mom you did that on the quilt, but how, I really like that, if you can one day, will you make me one". I said "well I don't know right now as this is a big quilt and it takes a lot of time to put it together, we will see". I almost burst into tears (emotional moment there, ha ha).
The only box we could find, as I did not plan the wrapping part, was a Dell box. I told my husband "if she sees that Dell box she is going to freak and think she finally got a laptop and she won't have the same excitement when she opens it and sees a quilt". He said "don't sweat it she will be okay". Well on Christmas morning, this quilt was toward the middle of the presents she was opening and I was right, as soon as that Dell logo first appeared under the wrapping paper the girl almost fainted, I almost burst out laughing, it looked like she just meet a famous superstar or something. I said "dont' judge a book by its cover as you never know what is inside". Well, my husband and his love of wrapping things with lots of tape, made it difficult for her to open, so they had to get the scissors. However, when she opened it she saw the label on the quilt she was jumping for joy, "you made it for me...WOW cool...thanks mom" and then she posed for several pictures, since we opened gifts before getting dressed those pictures are freighting with our hair and sleeping clothes looking crazy (so they will be private viewing only, ha ha).
To my joy she loved it and that was all that mattered. Thanks sweetie for allowing mom this moment in time.
Monday, January 10, 2011
Holiday 2010 & Scrap Pile Mystery Quilt
I signed up to participate in the Holiday 2010 Mystery Quilt project (of course I am behind, what joy). You can still do this project as the information will be on his website through completion of the quilt (which is still going on) as well as some time afterwards I am sure.
I am pulling the fabrics from my scrap pile and will begin to start on the quilt this month. Depending on the outcome of the quilt it may be a gift for someone at Christmas time. If I start now I won't have to rush later (of course I will rush because I will do another quilt last minute, RIGHT).
I also saw this Scrap Pile Mystery Quilt (which they already completed) on Eriks site. I like the concept of always being able to get rid of your scraps in a great way. I will most likely donate this quilt.
Seeing how well the scraps were being used, I found a group at my local quilt store that will be using scraps in various projects, so I joined. If you have lots of scraps and don't know what to do with them. Check out the 2 options above.
Enjoy.
Leander Adult Book Club
I just joined this book club and we are reading the Memory Keeper's Daughter by Kim Edwards. So far so good. I came across this book a few months ago and had it on my list of books to read and through this book club it has been pushed to the front of the list.


Free Calendars For 2011
I never know what the date is let alone what day of the week I am on. So I try to put a new calendar in each room each year (well at least I try). I came across these and thought I would pass them along to you. Various cute calendars that you can print and display.
EZ with Creature Comforts used watercolors to make the animals/nature prints in her calendar (she actually painted them).
Shivani with My Owl Barn has made a clickable calendar, which allows you to decide what picture will print for the month you select. Way cool. You will not look at owls the same way.
Cameron with Cottage Industrialist created a calendar geared toward vegetables. This would be so cute in your kitchen.
I am sure there are tons more out there that people have created, so just Google the web and you never know you might just discover a new blog that peaks your interest (that's what happened to me).
Enjoy
Saturday, January 8, 2011
Central Forge Carpet Cutter Blades (possible replacement to regular rotary blades)
I know that all quilters who use rotary cutters probably think like I do (at least I think so). That when it comes to rotary cutters, they are the most expensive tool of the trade (other than fabric and a sewing machine of course). Since I have been quilting the cost of the blades have ranged from $25.00 to $36.00 for a refill pack of 5 blades for the OLFA brand cutter. The other brands are around the same cost (except for the Gingham which was considerably more around $11.00 for one blade).
Well through one of my online quilt groups, someone alerted us to the use of the "Central Forge Carpet Cutter Blades" sold at Harbor Freight Tools. They told us these blades were meant for cutting carpet (but as we quilters know, just because it is meant for something else, it can't be adapted to be used for quilting at a considerable cheaper cost). Someone discovered that the blades fits the 45mm OLFA, Fiskars, and Dritz rotary cutters. They mentioned that even if you have a notch in your rotary cutter the hole in these blades will fit your cutter. The amazing thing is that if these truly do work the cost is astronomically cheaper that the name brand blades because these blades cost $1.99 for 2 (that is $1.00 per blade, not include shipping). I know that sometimes if something is cheaper it may not be as good, but since you have to change your blade out so often, why not give something cheaper a try.
In my research I found out that I have 2 Harbor Freight Tools in my city and I have called one and they had a large number in stock. I will be picking up quite a few and testing one out and making sure that I like them (before the return date expires). For those of you who do not have a location in your area, they are on the web and you can have them shipped to you. If you do have one in your area, when you call to find out if the have any (which I highly suggest, since more and more quilters are discovering them) they will most likely ask you for the SKU number (mine did when I called) and that is "Central Forge 97642". I hope you give them a try, you never know until you try it out. However, you know if they get hip to the quilting game, the cost will rise considerably.
After I working with them more, I'll let you know what I think (from a beginner quilters prospective).


The blades edges are sharp on both sides like the OLFA, so I don't think I will have a problem in using both sides of the blades.


Photo below is the carpet blade installed in my OLFA rotary cutter (front & back photo). The blade looks and feels the same as the OLFA.


I hope this information helps you in deciding whether to test out the carpet blades. I did not find the carpet rotary cutter itself to see what the difference was between mine and theirs (will continue to look). Enjoy.
Well through one of my online quilt groups, someone alerted us to the use of the "Central Forge Carpet Cutter Blades" sold at Harbor Freight Tools. They told us these blades were meant for cutting carpet (but as we quilters know, just because it is meant for something else, it can't be adapted to be used for quilting at a considerable cheaper cost). Someone discovered that the blades fits the 45mm OLFA, Fiskars, and Dritz rotary cutters. They mentioned that even if you have a notch in your rotary cutter the hole in these blades will fit your cutter. The amazing thing is that if these truly do work the cost is astronomically cheaper that the name brand blades because these blades cost $1.99 for 2 (that is $1.00 per blade, not include shipping). I know that sometimes if something is cheaper it may not be as good, but since you have to change your blade out so often, why not give something cheaper a try.
In my research I found out that I have 2 Harbor Freight Tools in my city and I have called one and they had a large number in stock. I will be picking up quite a few and testing one out and making sure that I like them (before the return date expires). For those of you who do not have a location in your area, they are on the web and you can have them shipped to you. If you do have one in your area, when you call to find out if the have any (which I highly suggest, since more and more quilters are discovering them) they will most likely ask you for the SKU number (mine did when I called) and that is "Central Forge 97642". I hope you give them a try, you never know until you try it out. However, you know if they get hip to the quilting game, the cost will rise considerably.
After I working with them more, I'll let you know what I think (from a beginner quilters prospective).


 |
| Here is a side by side photo of the carpet blades (right) and an OLFA bade (left). So far the only difference is that the OLFA blade has a notch in the center. The blades fits my OLFA cutter and they cut the same (at least to me). |
The blades edges are sharp on both sides like the OLFA, so I don't think I will have a problem in using both sides of the blades.


I hope this information helps you in deciding whether to test out the carpet blades. I did not find the carpet rotary cutter itself to see what the difference was between mine and theirs (will continue to look). Enjoy.
Subscribe to:
Posts (Atom)