Showing posts with label seed. Show all posts

Monday, March 11, 2013

What I'm Growing

As promised in previous post, here are the photos of my plants from seed and those that I did not have seeds for (better yet my compulsion to buy starts).

Seedlings Before (store bought Swiss Chard in the lower right)
Store bought starts

The after....It is a lot, but believe it or not, this year I am cutting back what is going into the garden (unless I come across something that I can't resist, WINK WINK).


Store bought plants


As of yesterday I transplated all the tomaot plants that were moved to the 9 oz cups to 16 oz cups.  I hope to put everything in the ground next month when hope of all frost should be gone.

I started these from seed:
Started 01/21/13:
  • Jelly Bean Hybrid Tomato (2 seedlings)
  • Black Krim Tomato (1 seedling)
  • Black Plum Tomato (2 seedling)
  • Early Girl Hybrid Tomato (2 seedlings)
  • Jubilee Tomato (2 seedlings)
Started 02/13/13:
  • Poblano Pimento Pepper (1 seedling)
  • California Wonder Pepper (2 seedlings)
  • Jalapeno Early (1 seedling)
  • Jalapeno Hot (2 seedlings)
  • Salad Slicer (2 seedlings)
  • Tender Green (2 seedlings)
I purchased these as starts:
  • Serrano Chili Pepper
  • Santa Fe Grande Chilli Pepper
  • Cubanelle Sweet Pepper
  • Phoenix Hybrid Tomato
  • Husky Cherry Red Tomato
  • Super Sweet 100 Tomato
  • Pink Girl Tomato
  • Mexican Tarragon
  • Ichiban Japanese Eggplant
  • Lying Saucer Summer Squash
  • Black Beauty Eggplant (2)
  • Quimalt Strawberries
  • Cilantro (I currently have a pot with seeds, but just in case they don't take, plus when it is gets too hot it bolts)
  • Rainbow Swiss Chard (already planted)
White Dinner Plate Hibiscus.  First time starting these from seed (could not find the actual plant at my local nursery).  Luckily during a Christmas card swap with gardeners in a group I was in last year, these were added to the card.  One plant took and now that is over a month old it looks great.

That little plant above was the only one that made it from about 10 seeds planted and now look her below.  I still plan to do this again, so that eventually, I could have a row of Hibiscus along the side of my house.

What's in the garden:

Amaryllis


Multiplying onions, given to me by a fellow book club member.


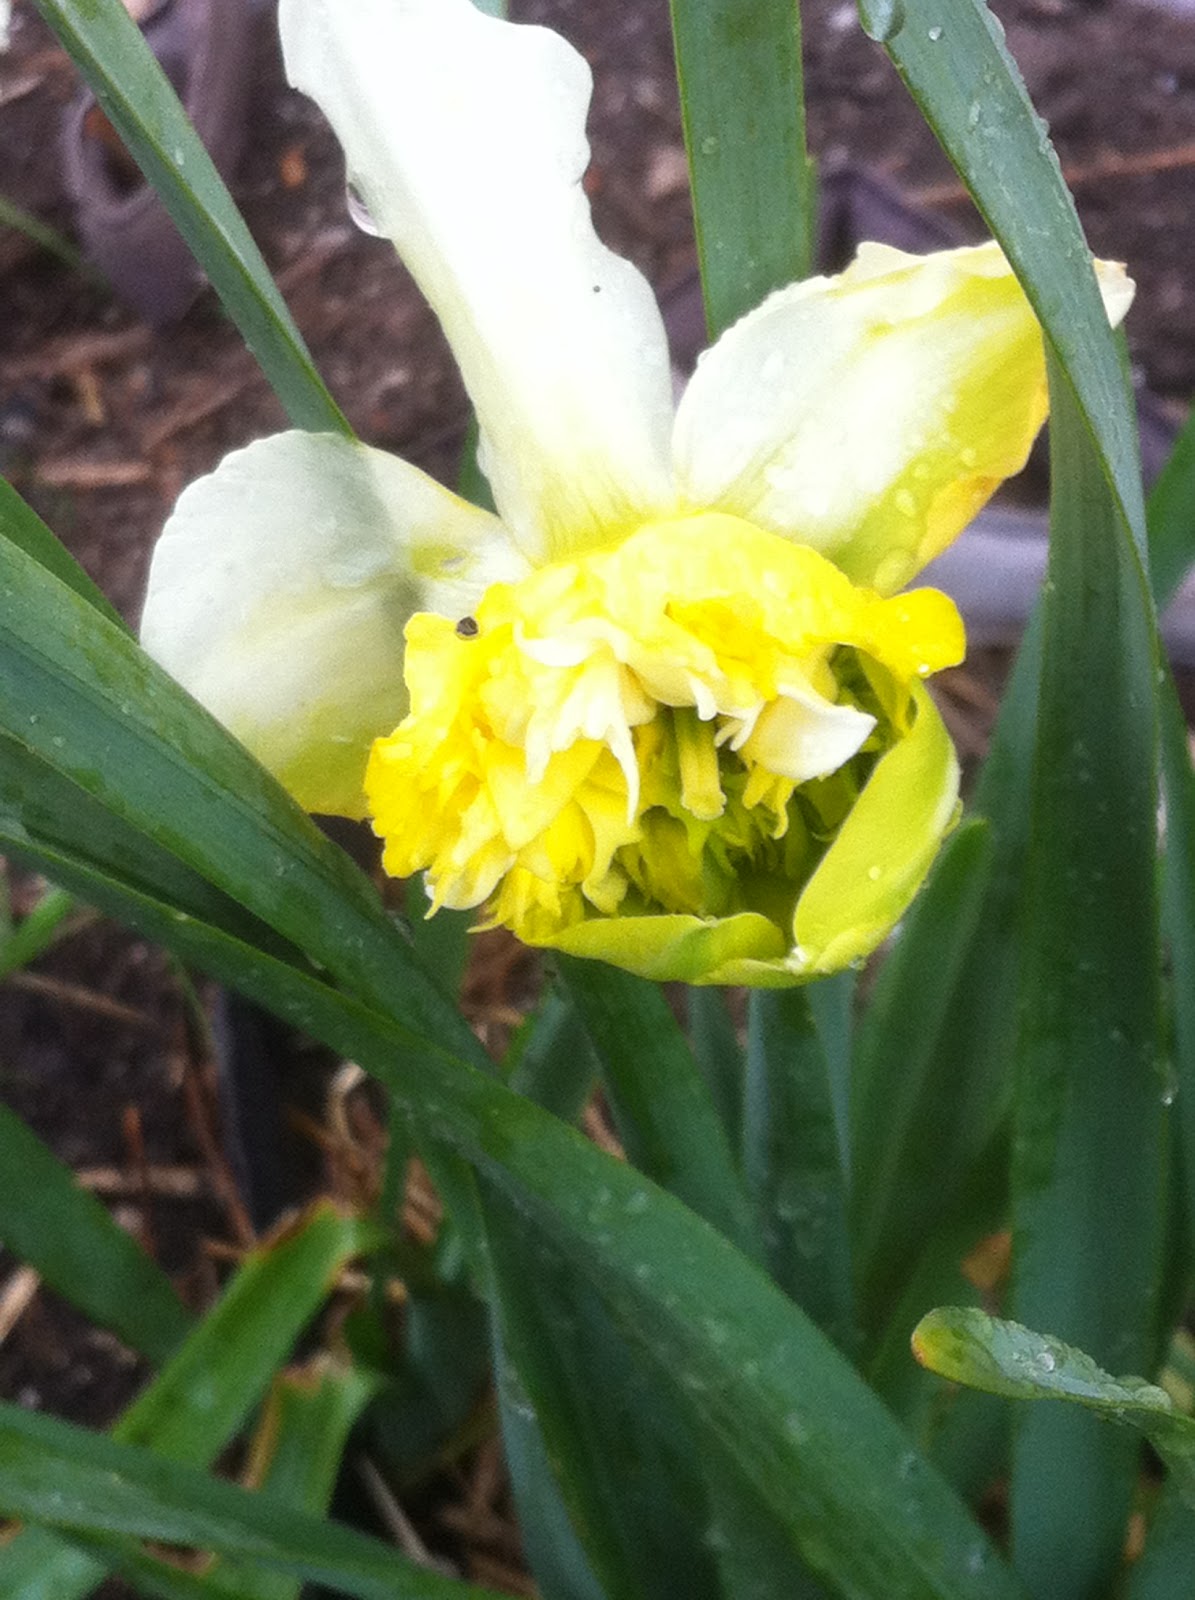
Ice King Daffodil

Pride of Barbados

My agave plants that reside on my front porch are doing great.  I am not sure if the stalks that are coming out the center will be flowers or if it is making more spines.  In researching them, I "THINK" mine are americana, I could be totally wrong. 


I am going to try again growing blueberries and blackberries.  Last time I tried, they only fruited a tiny bit, then ants invaded the container they were in, however in looking at them yesterday there are leaves forming, so after I kill off the ants, I will transplant them somewhere else.  In the mean time I planted last month the plants below.


Things seems to be progressing quite well.

Happy Gardening...


Tuesday, March 20, 2012

New Ideas For The Garden

I am always looking for new things to try in the garden to try and make things better (mostly I like to experiment).  Today while reading through my favorite blogs, I came across Annie at Annie's Kitchen Garden and her recent post on her garden status.  I noticed these two posts on the right side of her blog and I read them again and thought this would be the year to give them a go.

The first one is making your own seed mats.  I have seen this all over the internet and mentioned in the various gardening classes I have attached and since I have plenty of seeds I will give this a try (also I did a cost comparison between standalone seeds and seeds already on plantable paper strips and there is a big price difference).  I think I would try it also with carrots as I tend to over plant and then I have to thin and I hate throwing away food only because they were planted to closely.  I figured out this year how to plant my onion sets and get them planted with good space around them.  I will know more at harvesting if I get bigger onions this go around.

The second one is bottomless tomato buckets.  This is the first time I have seen tomatoes grown in a bucket in this way before.  Last year I tried to grow a majority of my tomatoes in containers with only a few actually being in the raised beds (to tell you the truth I did not have enough real estate for ALL the tomatoes I started from seed).  I did notice that with the bucket method (which I placed on top of weed cloth outside the garden) that I had to water more often (I did get a few tomatoes, but not enough for what I put into it, also we had a drought last year).  I wonder if by sitting the buckets on top of the soil and allowing the plants to root into the soil below the bucket level, if it actually allows the plant to be more sturdy and allows it to take in more water and keep the soil moist (not sure, but will know for next time).

Thought I would share some new techniques from fellow gardeners.  I will soon be posting about my garden status and the plants that I started from seed and they are ready to go in the ground.  I should be able to start planting this weekend (knowing that there may be at least 1 or 2 more freezes possibly through April).

Happy Gardening......

LinkWithin

Related Posts with Thumbnails