Because I hate doing binding in general, I came across this article and thought how ingenuous. Now I know this binding material has been around since the beginning of time, but hey I am new to it all and anything that makes the process easier let along faster and still looks just as good, I am all in there. I came across this article and I thought I could really do that, I also realized...hey that is what is on my potholders and oven mitts...never knew it. I have heard through various quilting groups that people are starting to use this type of binding for their quilts and I think I will give this a try. I am in the process of making a mat for my dog water/food dishes to go onto, so I will be able to test out the process real soon.
Smashed Peas and Carrots: How to Sew Bias Tape {A Tutorial}
Enjoy.
Tuesday, May 31, 2011
Binding Tutorial
I know there are tons of binding tutorials out there and I think I have read most of them (no seriously, I think I have), but binding is a part of the quilt process along with actually quilting the quilt that scares me. I guess this is the final touch that you put on a quilt and if you mess it up the quilt could fray or better yet come apart and all that hard work is lost. What also scares me is the finishing of the binding by hand, WHY OH WHY do we need to do it by hand, but I guess if you want it to look great and you can't get the "stitch in the ditch to line up properly, finsihing it by hand is the way to go, just set some time aside to do it right espically on a big quilt. Kerry at verykerryberry: Single Binding Tutorial gives you great up close photos of the process step by step, I know that takes a lot of work to do, but it is so very helpful. Give her method a try and just replace the single binding with your double layer/folded binding.
Enjoy
Enjoy
What is a fat quater????
Are you new to quilting and the terms we quilters have come up with, well here is what I have found to be Fat Quarter 101. This article goes into detail of what a fat quarter is along with diagrams (pictures are always helpful).
I find fat quarters quite helpful in quilting, especially when you need a small amount of fabric or you just want a punch of something to add that pizazz to your project and your local quilt store won't cut you a small piece. I collect fat quaterts like I collect charm squares, layer cakes, jelly rolls, and fabric yardage. You just can't get enjough and why should we.
http://quilting.about.com/od/stepbystepquilting/ss/fat_quarters.htm
Friday, May 27, 2011
Peppers In The Garden
I took a moment earlier last week to see what kind of peppers I had planted in the garden. I also wanted to make a note of which ones were producing already, so they would be a likely choice (after tasting them) for next year.
Small pepper bed (transplants purchased):
On a non-pepper note, while out in the garden picking peppers, I noticed the grape tomato plant had a few tomatoes that had turned red. I had to taste them on the spot (2) and brought 2 inside the house. They were good and slightly sweet.


Enjoy.
Here are some radom photos of how the peppers have been doing over the last couple of weeks.

Small pepper bed (transplants purchased):
- Sweet Banana Hybrid (4)
- Bonnie Green Bell (7)
- Cayenne Hot (4) already producing some peppers, picked 1st batch last weekend
Large Pepper Bed (grown from seed):
- California Wonder Bell (2)
- Jalapeno (2)
Large Pepper Bed (transplants purchased):
- Orange Sweet Bell
- Lilac (purple) Bell (2) already producing some peppers, picked 1st batch last weekend (the peppers were small, but were ready)
- Mucho Nacho Jumbo Jalapeno
- Serrano Chili already producing some peppers, picked 1st batch last weekend
- Tam (mild) Jalapeno already producing some peppers, picked 1st batch last weekend
- Sweet Banana Hybrid
- Yellow Bell
- Red Bell Sweet (2) already producing some peppers, still green
- Chocolate Bell (2) already producing some peppers, still green
- New Mexico 6-4L Chili
- Santa Fe Grande Chili
Sporadically Placed Around Garden (grown from seed):
- California Wonder Bell (2)
- Carnival Mix Sweet Bell
- Crispy Hybrid Bell (2)
- Jalapeno Early (2)
 |
| Lilac Bell Pepper |
 |
| Serrano Chili Pepper |
 |
| Sweet Banana Hybrid Pepper |
 |
| Cayenne Hot Pepper |
 |
| Red Bell Pepper (had to pick early as we needed one for dinner) |
 |
| Sweet Peas |


Enjoy.
Here are some radom photos of how the peppers have been doing over the last couple of weeks.

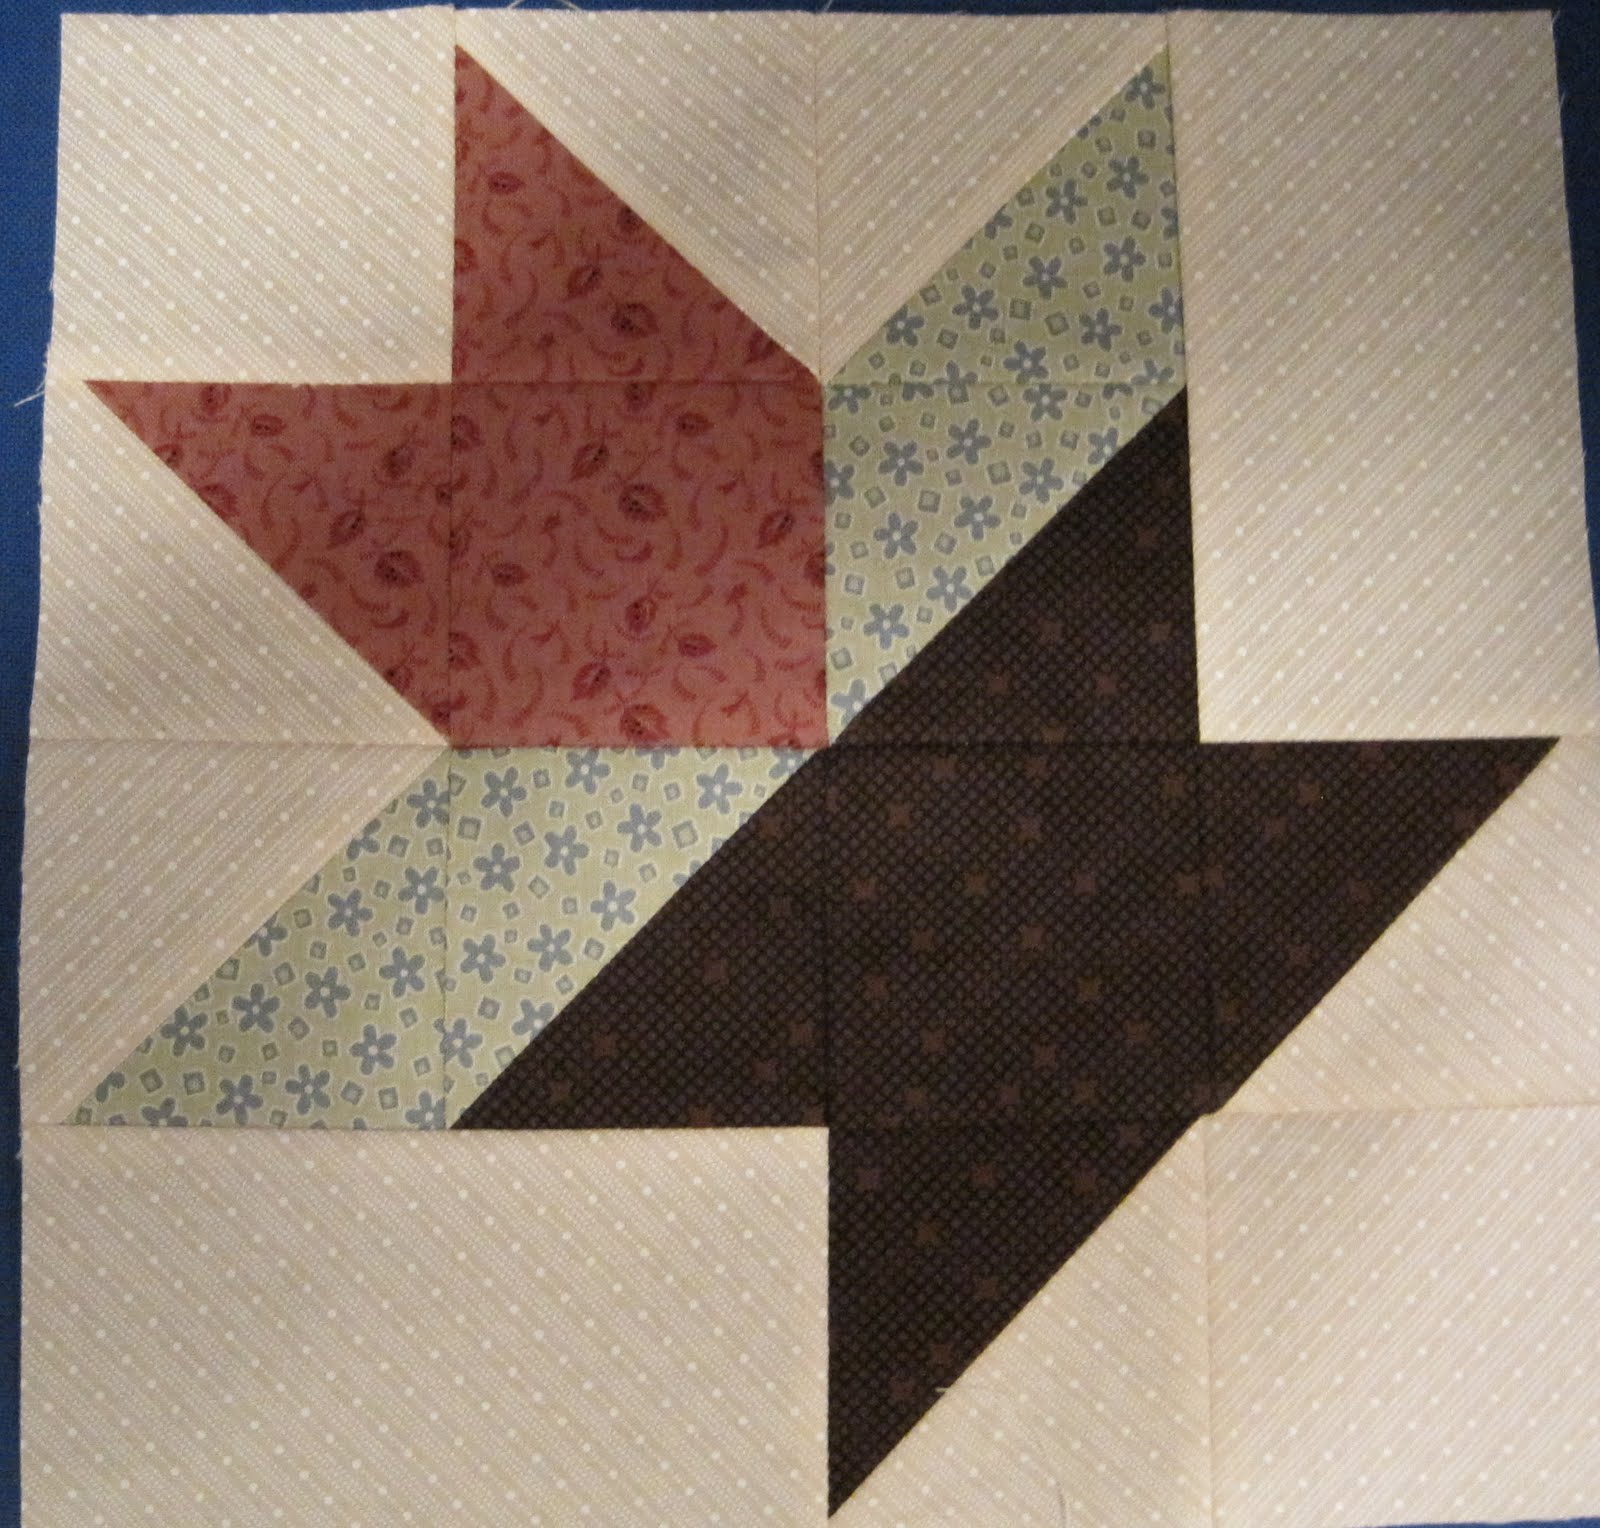
Quilt Block Of The Months
I am trying to get caught up on my quilting since being sick the last few months.
Honey Bee:
Ready To Sew Bernina:
Austin Modern Quilt Guild:
Double Four Patch, block #5

I also did the Plus block that was on the creators website

Stripy Circle block #6

Wonky Log Cabin, block #7

Pinwheel, block #8

I am now officially caught up with the groups. YEAH so excited. Enjoy.
Honey Bee:
 |
| February |
 |
| March |
 |
| April |
 |
| May |
Ready To Sew Bernina:
 |
| February |
 |
| March |
 |
| April |
 |
| May |
Double Four Patch, block #5

I also did the Plus block that was on the creators website

Stripy Circle block #6

Wonky Log Cabin, block #7

Pinwheel, block #8

I am now officially caught up with the groups. YEAH so excited. Enjoy.
Monday, May 23, 2011
Thursday, May 19, 2011
Seeds From Praxxus55712
I received my seeds from Praxxus a couple of months ago and due to being sick, was not able to set time aside to germinate them. These will be the first plants that I germinate next year. I am super excited to get them, there were hundreds of people that requested his seeds. The only seed that I really wanted, but did not get (becasue he ran out) was Polish Linguisa tomoato, he has raved about them and I wanted to test them out.
I received the following:
Large Cherry Tomato, Germinates in 7-14 days and 75 days to maturity
Rutgers Tomato, 75 days to maturity. Through research here, I will find out later if this is the determinate or indetermainate variety later.
Hot Jalapeno, Germinates in 10-20 days and 65 days to maturity
Mild Jalapeno, Germinates in 10-20 days and 65 days to maturity
California Wonder Bell Pepper, Germinates in 10-20 days and 75 days to maturity
Thai Hot Pepper, Germinates in 10-20 days and 75 days to maturity
Cubanelle Mild Pepper, Germinates in 10-20 days and 65 days to maturity. Through research here and here it is a
Boston Pickling Cucumber, Germinates in 5-10 days and 55 days to maturity
Carrot Imperator, Germinates in 9-17 days and 68 days to maturity. Through research here and here tells me that this will be a long sweet carrot.
I also came across this visusal guide to peppers. I am sure there are more peppers that are not included on this list, but I thought I would share with you.
Thursday, May 12, 2011
In The Garden
Here is an update on the status of my garden. I am feeling much better from having the flu and being in the hospital with pneumonia (although I was considerably behind while trying to get well, I have on 3 tomato plants left to plant, some plants are way too small for this time period, but they are in the ground).
I have noticed that since I moved the black/red raspberries and the blue berries to the patio there has been considerable growth. I think next year will be much better since these plants are now getting total sun and they should be able to fruit up. I am also giving the plants coffee grounds.


Radishes


I have noticed that since I moved the black/red raspberries and the blue berries to the patio there has been considerable growth. I think next year will be much better since these plants are now getting total sun and they should be able to fruit up. I am also giving the plants coffee grounds.


The potatoes are already starting to flower. I would have thought it would have been a few more months before this occurred. I planted them in March (I need to check the tag to see what the maturity time period is).

Here are the various tomato plants that I have actively growing in the garden.

 |
| 2 photos above--Lemon Boy (store bought transplants) |
 |
| Jelly Bean Hybrid (grown from seed) |
 |
| Cherokee Purple (from seed, thanks engineeredgarden) |

 |
| 2 photos above--1 of 2 of my Roma Burpee plants, 1 is waiting to be planted (from seed). |
 |
| Better Boy Hybrid (from seed) |

 |
| 2 photos above--Roman Candle 1 waiting to be planted (from seed, thanks engineeredgarden) |
 |
| Burpee Sweet Snack Hybrid (from seed) |
 |
| Early Girl Hybrid (from seed). This plant had some frost damage, but so far it is almost as big as some of the other plants in the garden. |
 |
| Burpee Sweet Hybrid (from seed) |

 |
| 2 photos above--Black Cherry (thanks engineeredgarden) |

 |
| 2 photos above--Bonnie Grape (store bought transplants) |
 |
| Roma (store bought transplants) |
 |
| Yellow Plum (store bought transplants) |

 |
| 2 photos above--Yellow Pear and it is forming tomatoes, since it is an indeterminate, we shall see (store bought transplant). The last time I grew these were from seed and I got a lot of greenery, but one lonely tomato. |

 |
| 2 photos above--1 of 2 of my Paul Robeson tomato plants, it is starting to form tomatoes (thanks engineeredgarden) |
 |
| 3 photos above--Paul Robeson tomato plants, the 1st tomato plant is starting to form tomatoes, the 3rd is waiting to be planted (thanks engineeredgarden) |
Pepper plants, most of the peppers in my garden, which there are tons, have all started to flower and/or produce baby peppers of some sort.

 |
| 2 photos above--Chocolate Bell Peppers |
 |
| Lilac Bell Pepper |
 |
| Sweet Banana Pepper |
 |
| Cayenne Pepper |

I have 3 egg plants in my garden and so far 1 of the 3 are starting to flower. 1 was about to flower, but since I moved it, the plant shock made it drop its flowers. My third plant was being shielded by the cabbage so I moved it and it is still a small plant (it is getting bigger by the day).

My cabbage plants are transplants and I have 4 of them growing. Not sure if they are to close, so next year, I will try to plant them much further apart.


The green beans are coming along quite well. I am not seeing the tendrils so not sure how big these plants will get. I can't wait to try the green beans. When I grew green beans during my first year of growing, I got enough to make one meal out of them and I was happy. Hopefully I get more so that I can freeze them.

The peas don't look great, but they are flowering and have already started to form peas. I love eating them right off the vine.

Cucumbers are starting to produce. I LOVEEEEEEEEEEEEEEE cucumbers. I accidentally picked up transplants that did not have the tags in there, but I do remember that some were Armenia, lemon, and burpless, will only find out which is which at picking time. I don't mind.


The 1st photo below are the zucchini plants prior to them being moved into the buckets (2nd photo) as you can see they are very happy. I have one plant in the bed in photo 1, just in case the buckets don't survive, it is not as big as the ones in the buckets, but it was planted much later. They are all growing quite nicely.


Subscribe to:
Posts (Atom)